Quick Start Guide
Lets start simple with applying a preset, later in the guide we will go into making a custom sight.
Should you have any problems following along feel free to reach out on the Discord server for help.
Importing the Asset
Thanks for downloading! To add it into your unity project you simply need to drag the .unitypackage file into the unity window. MAKE SURE your project was created using the VRChat Creator Companion as it will have essential settings in unity already set and ready to go.
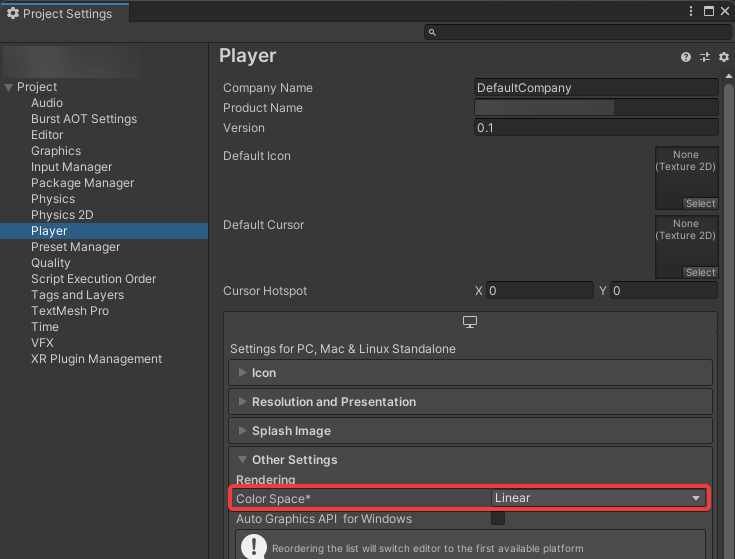
Should you be using this asset outside of VRChat make sure your project color space is on Linear not Gamma.
How to set your project color space to Linear.
Open up your unity project and navigate to your Project Settings (Edit > Project Settings). Under project settings look for Player and Other Settings then set the color space to Linear from Gamma and restart your Unity.
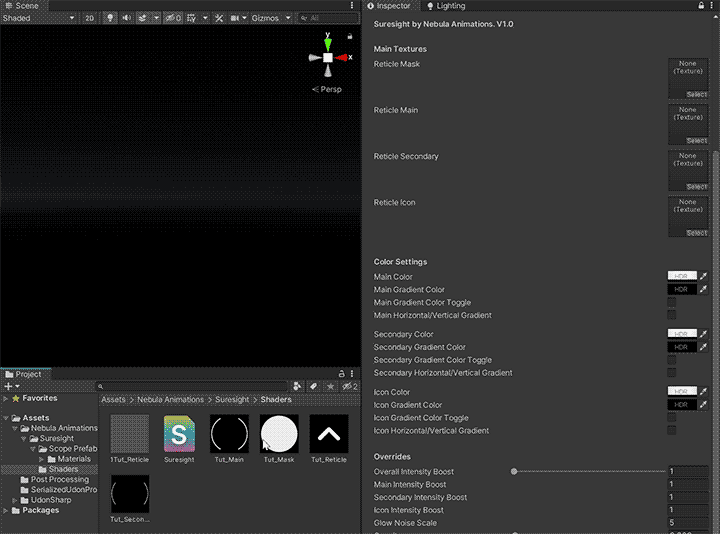
Applying a Preset
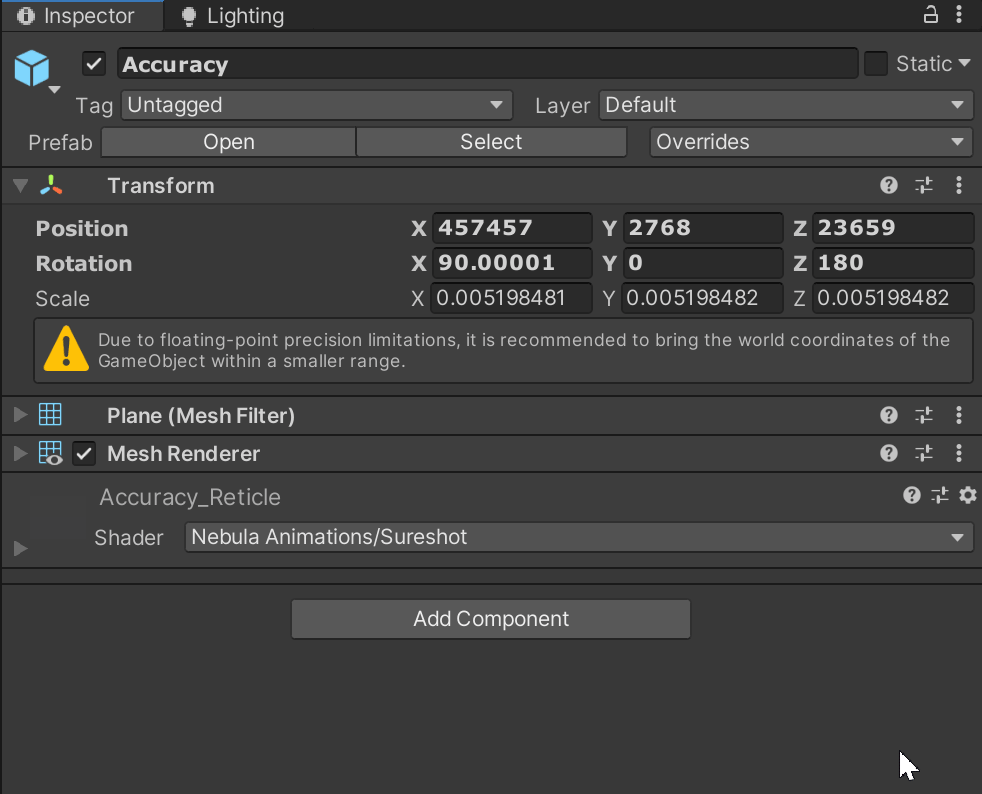
Suresight comes with a wide selection of presets, lets go with the preset labeled Accuracy. You can find it in Nebula Animations > Suresight > Scope Prefabs.

Once you have found the prefab drag and drop it into the scene.
After doing so while you are in the same folder locate the Depth_Get prefab. You only need 1 Get_Depth for your avatar or world so if another asset you are using includes one feel free to skip adding it.
If you can confirm another asset does not already have one added then drag and drop the prefab onto the Sight or into the world scene.
For avatars make sure it is attached to any other component that will be loaded with the avatar to ensure the shader functions properly.
You may notice the prefab is not in an easy spot to reach to move it to the avatar or world location desired. You can press F to focus on the prsefab or you can go to the inspector window and reset the position to 0,0,0 aka the world center point.
Once you can see the sight make any modifications you would like now and save your sight as a new prefab, this way you can reuse it in any other projects without the need to remake it each time.
If you are happy with the sight go to the hierarchy and drag it onto whatever object you would like it parented to, for example a weapon. Once you have done so reset the position again and move/rotate the scope to your desired position.
With that you should be ready to go! Publish your Avatar/World and have fun.

Creating a Sight From Scratch
This section will cover creation of a sight with no presets used, only the shader. Defaults have been put in place to make this process as easy as possible however you may need to tweak some settings to get things looking just the way you want. It is recommended to stick with the presets unless you are familiar with how materials work.
Creating the assets
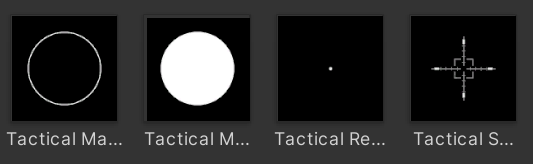
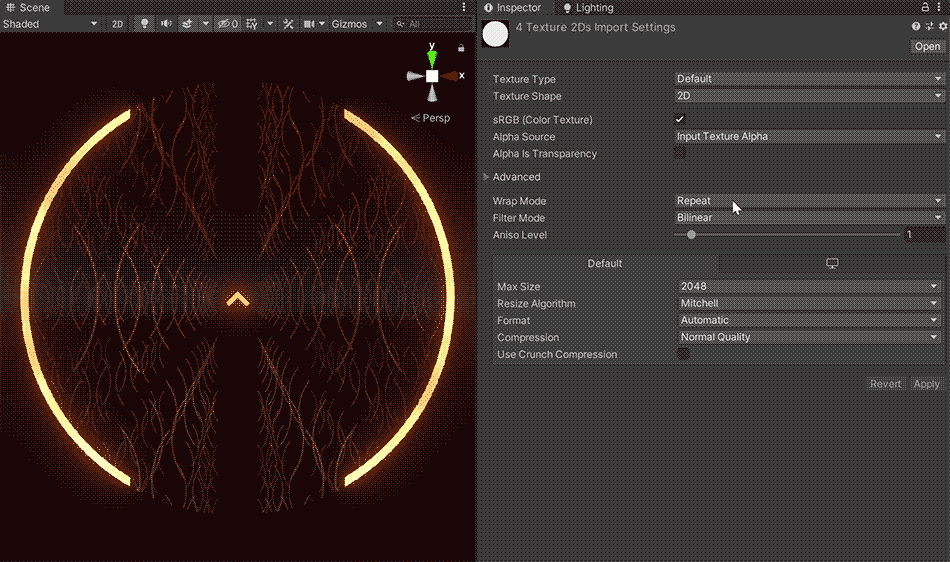
For the assets you will need to make 4 textures.
- Main
- Mask
- Reticle
- Secondary
Here is a sample of what those look like:
The main thing to note when making your textures is:
- The mask will determine the visible area of your Reticle
- The main texture never moves unless specified in the animation settings for rotation and will be attached to the mask texture.
- The secondary texture can have rotation animations applied and also will be repeated along the length of the sight so it is recommended to not have it be to visually distracting.
- The reticle will be scaled down to fit the center of the sight within the shader so feel free to take up the entire space of the texture with your design.
With this information in hand lets make a simple reticle inspired by Call of Duty. You can make your own textures or follow along with the ones I have made that you can download below:
Making A New Material
Now that you have the textures you are going to want to make a new material for the shader.
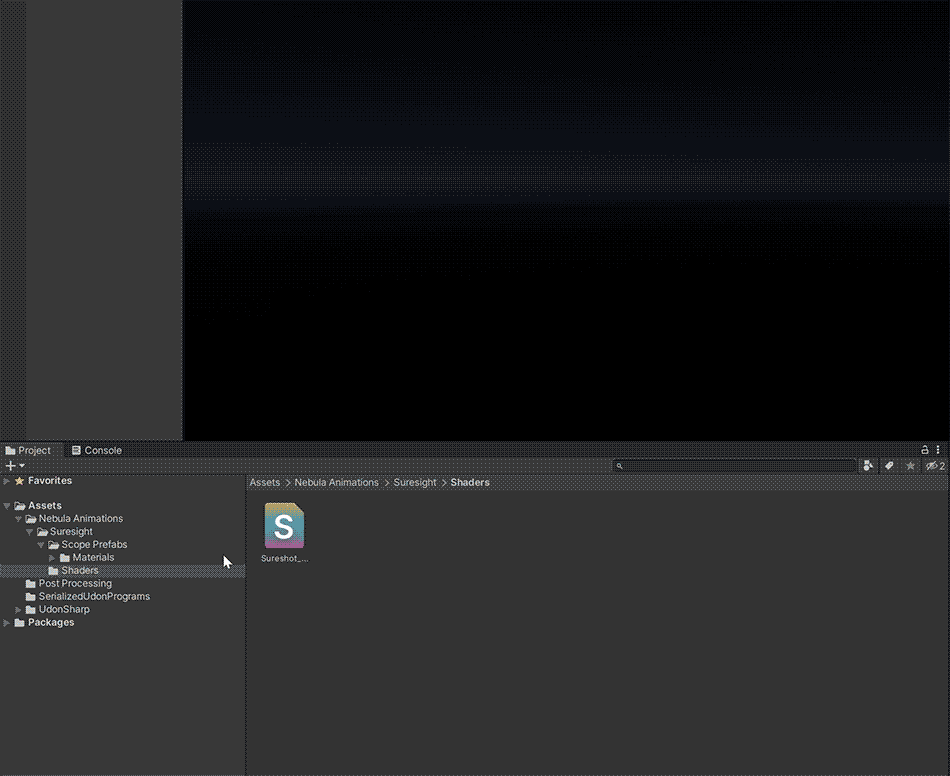
- Make sure Suresight is imported and navigate to the shader folder.
- Right click the shader and go to the option that says material. This will create a new material using the shader.
- Move the material into a folder of your choosing. Preferably one where you will be keeping your textures and prefab.
Creating the Mesh
- In the hierarchy view create a new plane, this will be our mesh that we apply the material to. By default the plane is quite large. Scale it down to the size of the scope you are looking to create.
IMPORTANT Make sure you scale the plane to the desired size before moving forward. The shader does not take into account scale so if you make the reticle at a huge size and scale it down all the settings will need to be adjusted to account for the size change. Reccomended scale for the default unity plane is 0.0052
-
Once you have the plane in the desired position and size drag on your newly created material from step 2.
-
Now that we have the material applied you will need to drag on your textures either downloaded or created in the Creating the Assets step.
-
You may notice that the secondary texture is a bit dark depending on how your texture is set up. In color Settings go to secondary color and raise the intensity to your desired value.
-
While in color settings you can also adjust the Main, Secondary, and Icon Color any color you like.
-
One last thing before your ready to go. Make sure on the textures you imported to set the wrap mode to clamped and resolution to 1024.
- With that you are ready to go with your own custom sight!
Wrapping Up
Thank you again for downloading and taking the time to read through this guide. I hope my shader is able to serve you well and empower you to make all sorts of cool effects. As always, my discord server is open for any questions and concerns and you can click the support button at the top to be linked directly to it.
Thanks for reading - Neb
Last Updated: 11/14/23